Ummm...has it really been more than a month since my last update?! Seems so. It's been a busy, busy month; traveling, family functions and in between some crafting for our upcoming Church Bazaar. I always try to dedicate my free time in October towards crafting for the holiday bazaar, which means I've been in full holly and ivy mode. A bit strange considering we haven't even hit Halloween. I feel like a local department store with tinsel displayed long before Fall has even arrived. Ha! But I've learned if I don't start early I just add stress to already months packed with birthdays, holidays and events. The hard part is returning my mind set from snow and Santa to more appropriate Fall themed crafts...like Halloween treat bags. Yeah, those were still hanging over my head.

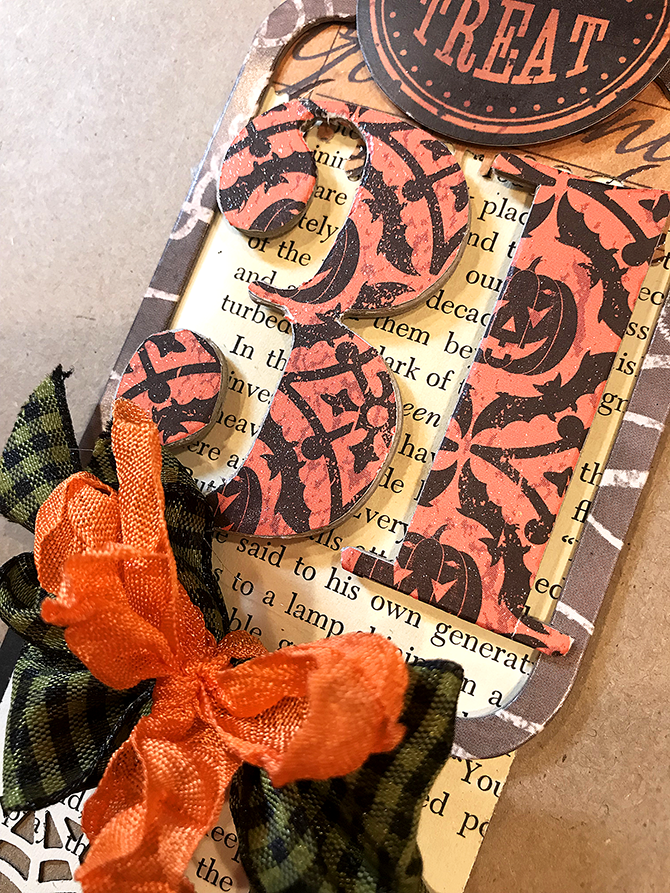
Remember those cute tags I made last month? Well I finally sat myself down and tackled putting together the bags. I think they turned out pretty cute and I count myself lucky a stray snowflake didn't find its way onto the bag. These weren't the only items on my Halloween to do list....
I also had these coffins to complete. I was struggling with embellishing the fronts until spotted some black raffia at Michaels. Some premade embellishments (on SALE!) and problem solved. The coffins are also from Michaels. I discovered a small $10 iTunes card, the ones that come in a 3 pack, just fits inside; the perfect gift for the older kids in the family who no longer Trick or Treat but still appreciate a little treat.